
Filing records (Index) #
Indexing means filing a document with a few key details, so it can be found in seconds later. The office uses it for fee receipts, vendor invoices, licences, audit reports, staff files and more.
An indexed record is a task like any other: it can go through a check-and-approve workflow, and it shows up in search, dashboards and reports.
Where records are filed #
In the demo school, the record types are grouped like this:
| Group | Example record types |
|---|---|
| Student Records | Student Admission File, Student Medical Record |
| Staff Records | Staff Personnel File |
| Finance Records | Fee Receipt, Vendor Invoice, Bank Statement, Other Income / Expense Entry |
| Academic Records | Question Paper Archive, Result Archive |
| Compliance & Policies | Affiliation & Licences, Safety Certificates, Audit Reports, Policies & SOPs |
| Canteen Records | FSSAI Licence & Certificates, Food Safety Audit Report, Weekly Menu Record |
| Payroll Records | Monthly Payroll Register, Full & Final Settlement |
Worked example: filing a fee receipt #
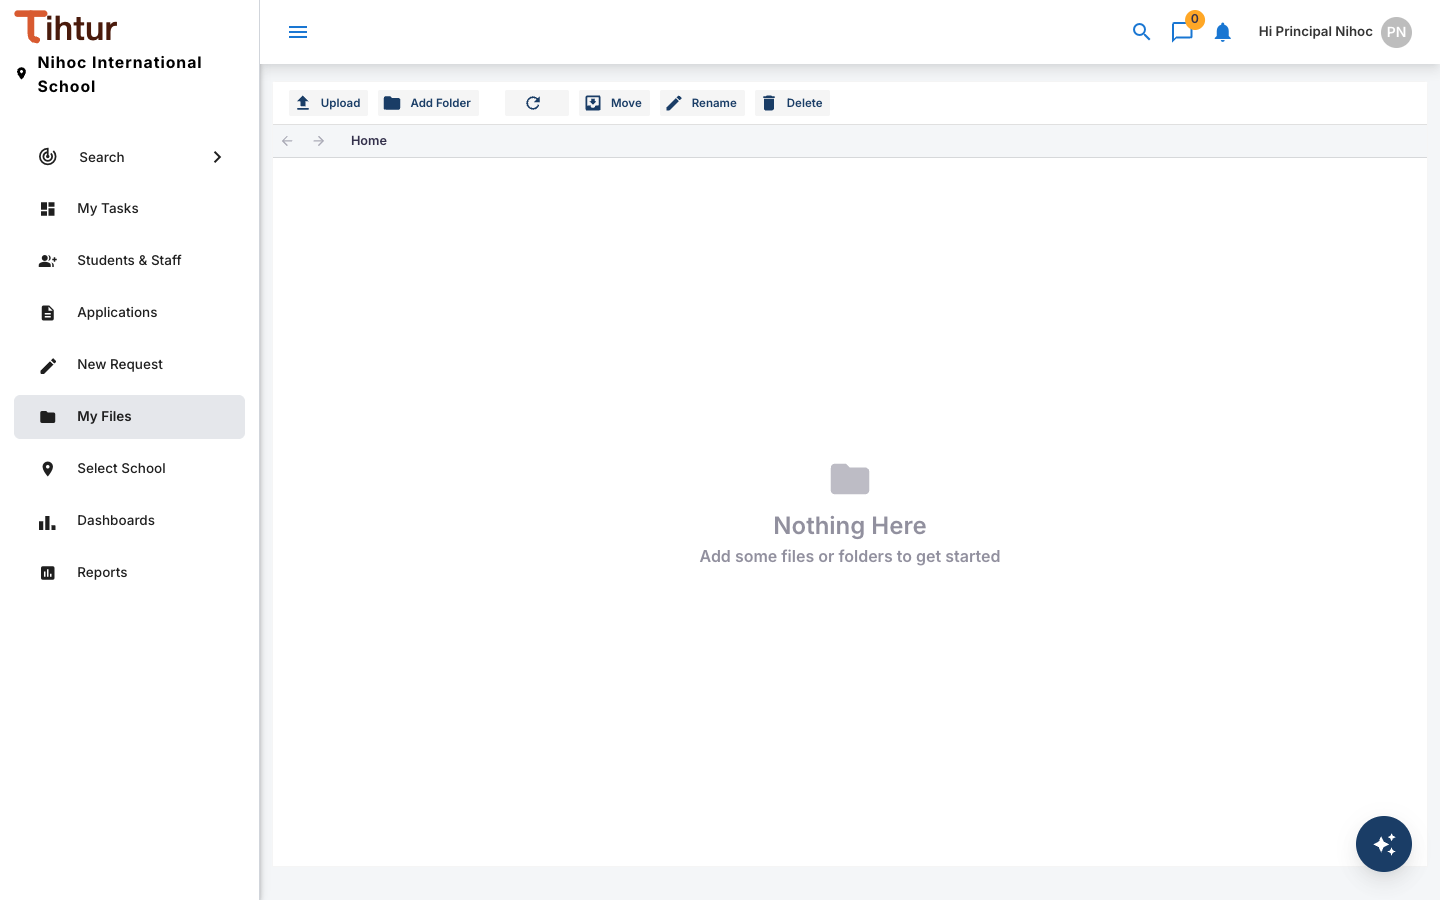
- Open My Files and press Upload. Choose the scanned receipt (PDF, JPG or PNG, up to 2 MB by default).
- Use Add Folder to keep files tidy, for example one folder per month. Move, Rename and Delete tidy up later.
Finding it later #
Use Search: choose the Finance Records group and the Fee Receipt type, pick a date range, and filter by any detail, such as the admission number. Open the record to see the original file.
Tip: file documents the day they arrive. A record with good details is worth far more than a folder of scans.