
Getting started #
TihTur runs the paperwork of a school in one place. Parents apply online, staff raise and approve requests, the office files records, and management sees everything on dashboards. Every request leaves a clear trail: who submitted it, who approved it, and when.
Try it now: open the live schools demo and sign in as
demo_auditorwith the passwordDemoAuditor@123. The demo account can open everything but cannot change anything.
What people do in TihTur #
| Who | What they do | Examples |
|---|---|---|
| Parents and students | Apply for something and follow its progress | Admission, transport, hostel, scholarship, meal plan |
| Teachers and staff | Create internal requests and act on the ones sent to them | Leave, purchase, lesson plan, marks entry, incident report |
| Office and accounts | Index (file) records so they can be found later | Fee receipts, invoices, licences, audit reports |
| Principal and management | Approve, and watch the school on dashboards and reports | Admissions pipeline, fee collection, pending approvals |
Each request becomes a task. A task moves through a workflow, for example Submitted → Class Teacher → Principal → Approved, and the right people are asked to act at each step.
Signing in #
- Open your school's TihTur address (your admin gives it to you).
- Enter your Username and Password. Tick Remember me on your own device to stay signed in.
- If you forget your password, use Forgot password on the sign-in page.
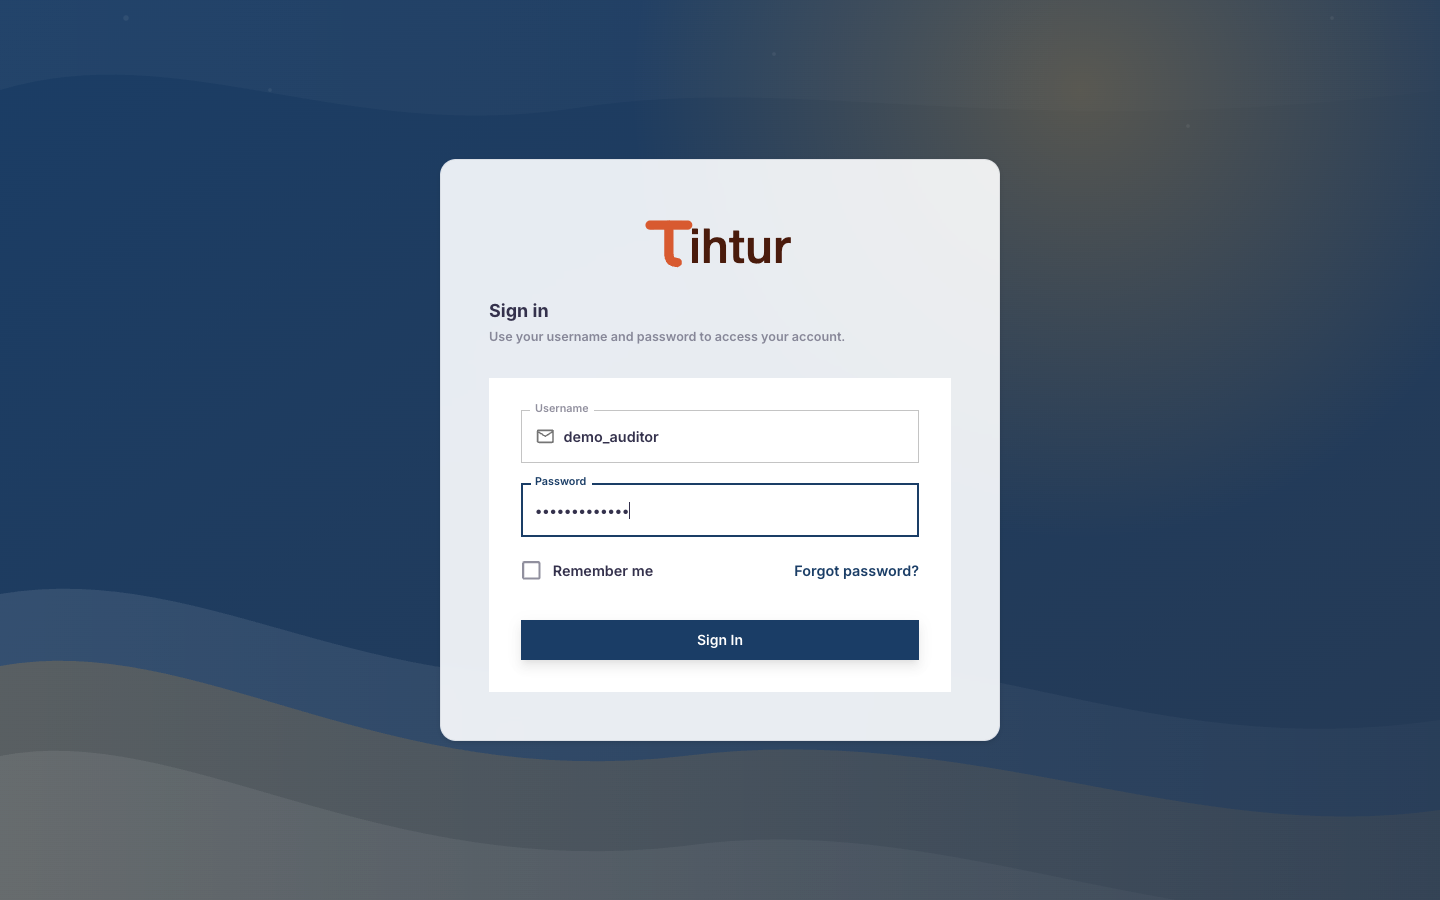
Tip: your username is not always your email. If you are not sure, ask your school admin.
Choosing your school #
If your organisation has more than one school or branch (for example a main campus and a Begumpet campus), choose Select School in the left menu and pick the one you want to work in. The selected school's name is shown at the top of the menu. Everything you then see, such as tasks, search results, dashboards and reports, belongs to that school only. New requests are filed under the selected school.
Most people belong to one school and never need to change it.
A quick tour of the screen #
| Area | What it is for |
|---|---|
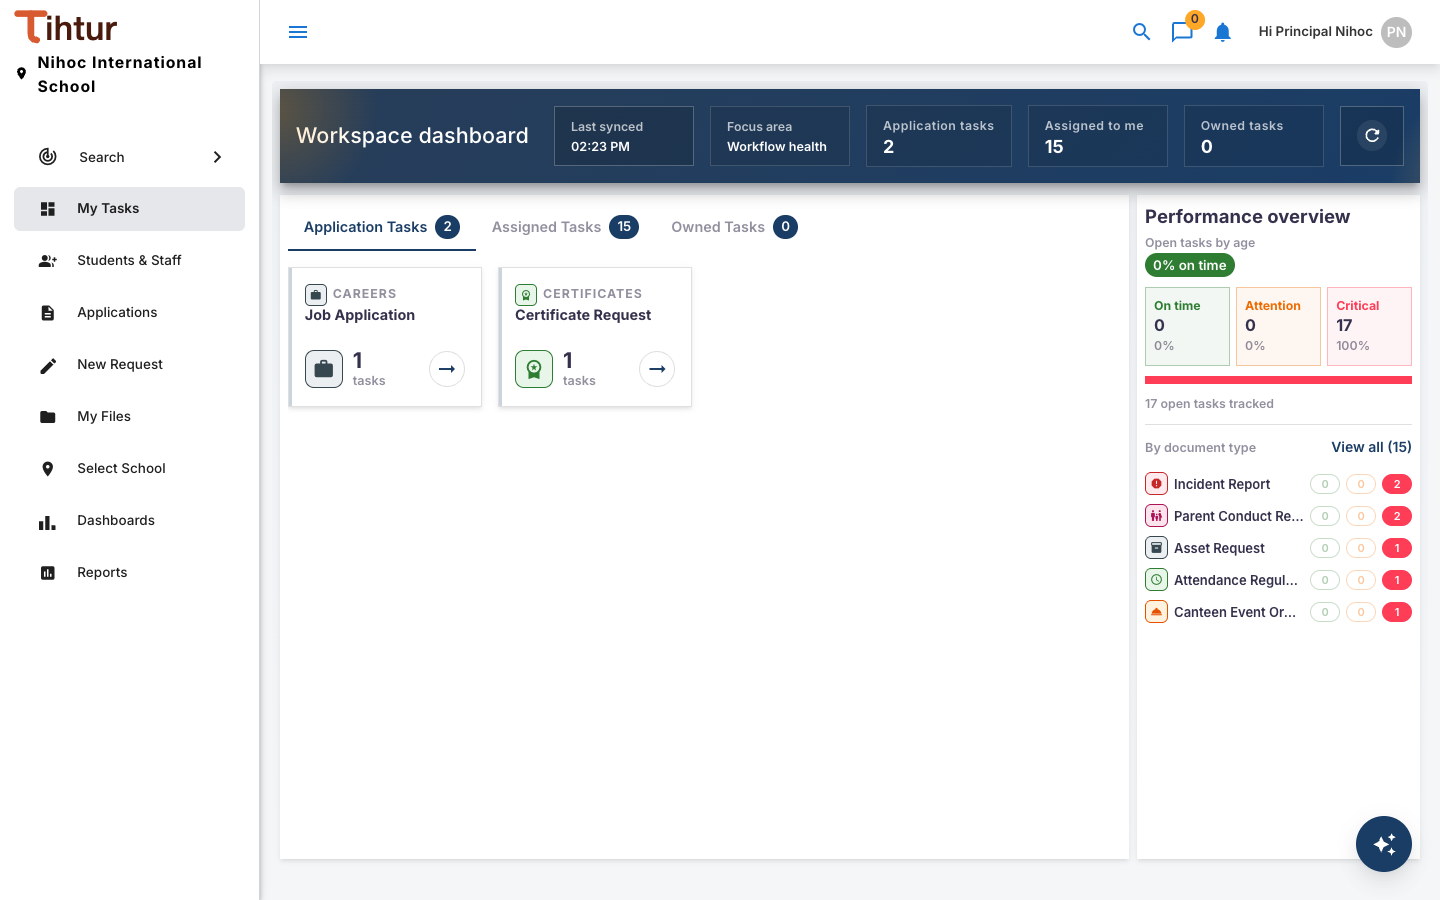
| Left menu (staff) | Search, My Tasks, Students & Staff (admins), Applications, New Request, My Files, Select School, Dashboards, Reports. You only see the pages your role allows. |
| Left menu (parents and students) | Home, Apply Online and Help Desk |
| My Tasks | Your work list: requests you raised, and requests waiting for you. This is where most people spend their day. |
| New Request | Forms for internal requests, grouped by area (Academics, HR, Finance …). |
| Header | Search, chat, notifications (bell), and your profile menu (Settings, Logout). |
| Task page | Opens when you click a task: the form, its status, history, notes, attachments and the actions you can take. |
What to read next #
- New to the app? Read My Tasks and Working on a task.
- Setting the system up for your school? Start with the Setup plan and checklist.