
My Tasks #
My Tasks is the first page you see after signing in. It answers three questions: what did I ask for, what is waiting for me, and what is getting late.
The workspace dashboard #
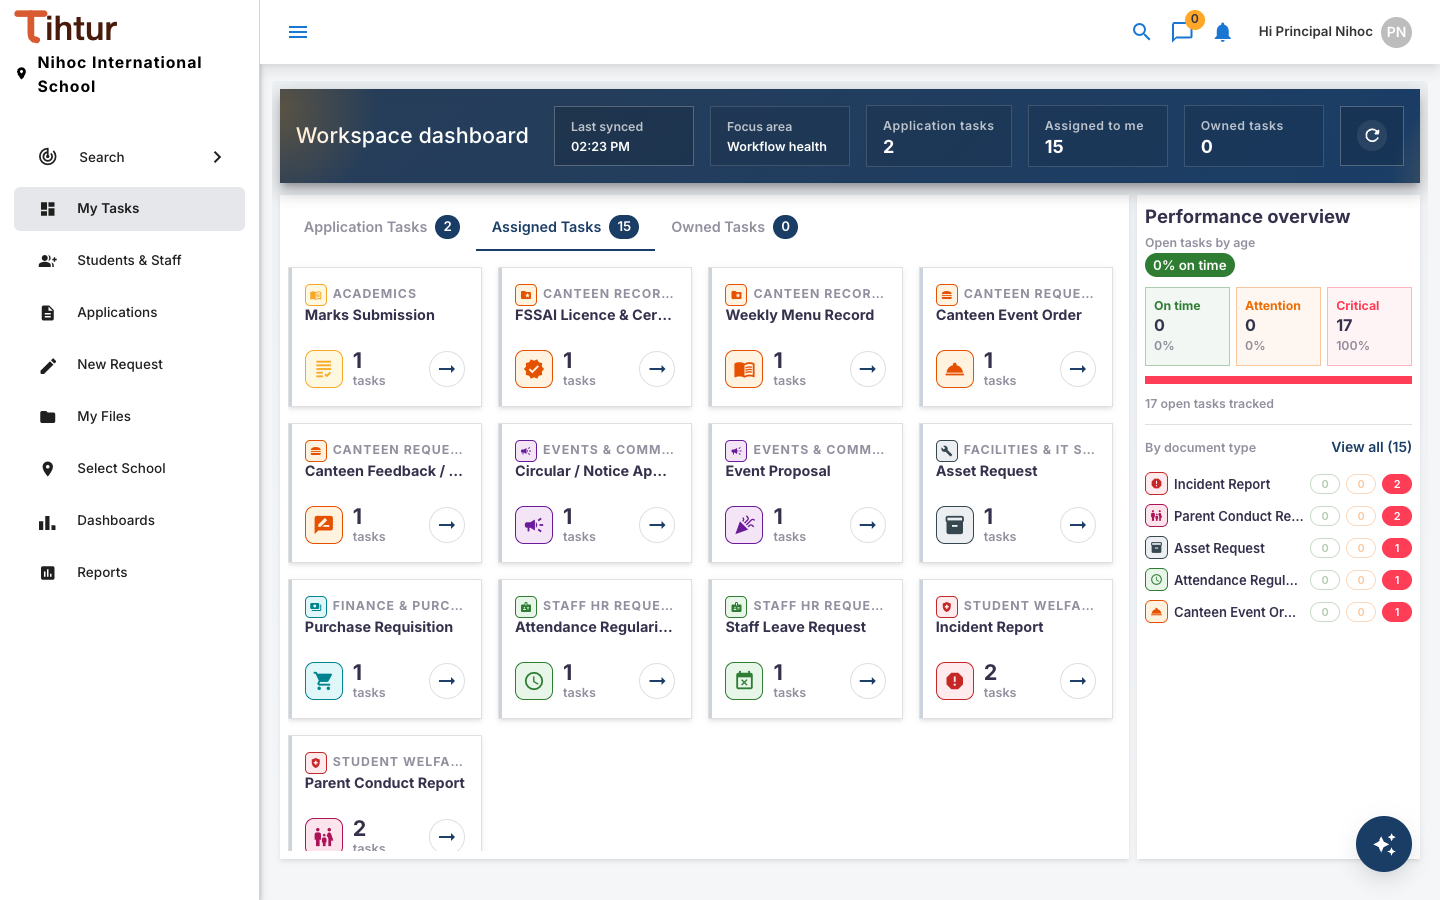
The banner at the top counts your work: Application tasks, Assigned to me and Owned tasks. Below it are three tabs:
| Tab | What it shows |
|---|---|
| Application Tasks | Applications from parents and students that reach your desk |
| Assigned Tasks | Requests waiting for your action (you are the approver of the current step) |
| Owned Tasks | Requests you raised yourself |
Each tab shows one card per document type, with the number of tasks. Press a card's arrow to open those tasks.
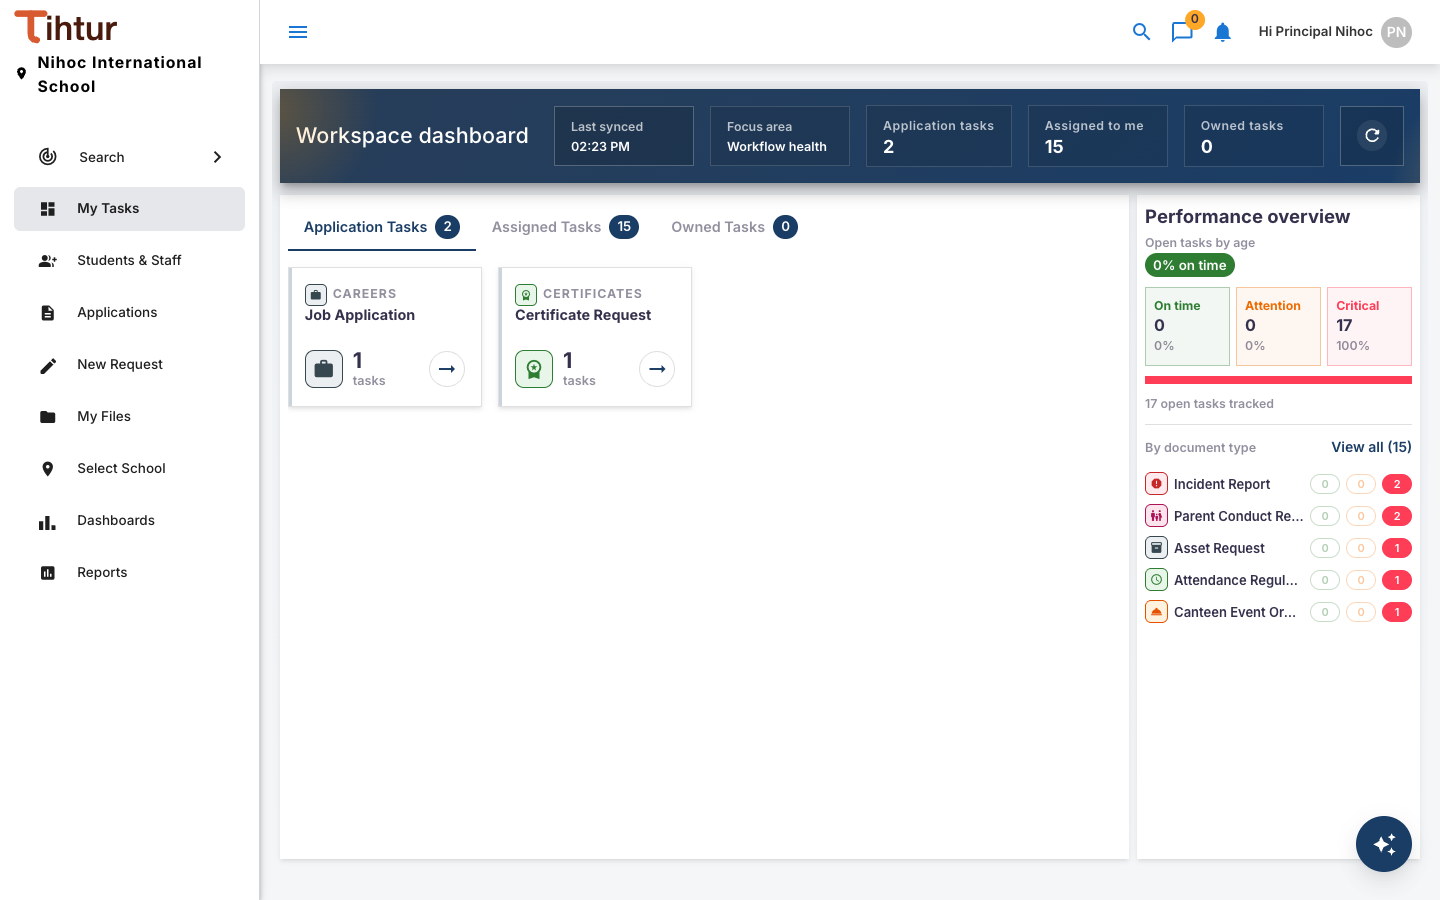
On the right, Performance overview marks your open tasks by how long they have been waiting, overall and per document type:
| Mark | Meaning (school default) |
|---|---|
| On time | Waiting 3 days or less |
| Attention | Waiting more than 3 days |
| Critical | Waiting more than 7 days |
The admin can change these limits in System settings.
The task list #
The list shows one row per task: the task name, its Document Type (for example Staff Leave Request), its Status (the current workflow step) and dates.
- Filter with the Document Type and Status drop-downs above the list.
- Open one task: click its name.
- Open several tasks: tick the rows and press Open Tasks (n). Each task opens in its own tab at the top of the page, so you can switch between them without losing your place.
- Export the list to a spreadsheet with the grid's export button.
What to do next #
- To act on a task (approve, reject, add a note, attach a file), see Working on a task.
- To find an older or closed task, use Search.
Tip: if a task you expect is missing, check Select School in the menu. You only see tasks of the school that is selected.